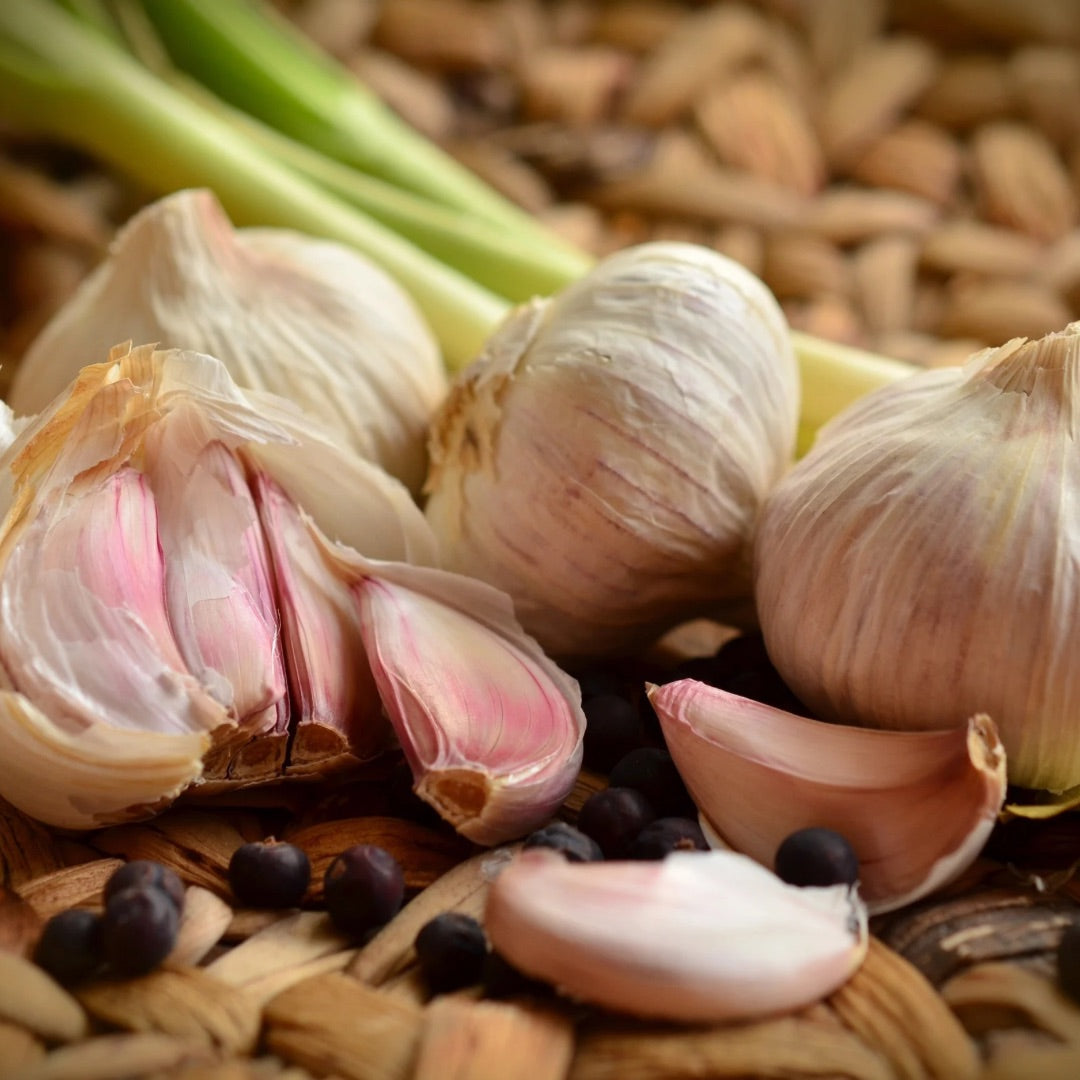
Garlic, a kitchen staple known for its distinctive flavor and numerous health benefits, is a rewarding plant to grow in your garden. Whether you’re a seasoned gardener or a beginner, harvesting garlic is a straightforward process that ensures you have a fresh supply of this versatile ingredient. In this guide, we’ll walk you through the steps to successfully harvest, cure, and store your garlic.
1. Knowing When to Harvest
Timing is crucial when it comes to harvesting garlic. Harvest too early, and the bulbs may be small and underdeveloped. Wait too long, and the cloves may start to separate and the bulbs could rot.
Indicators for Harvest Time:
• Leaf Condition: Garlic is typically ready to harvest when the lower leaves start to turn yellow or brown, and the top leaves remain green. This usually occurs in late spring to early summer, depending on your climate and when you planted the garlic.
• Plant Age: Generally, garlic is ready to harvest about 8-9 months after planting. For example, if you planted your garlic in the fall, it should be ready to harvest in late June to early July.
2. Harvesting Techniques
Proper harvesting techniques ensure you don’t damage the bulbs.
Steps for Harvesting:
1. Loosen the Soil: Using a garden fork or spade, gently loosen the soil around the garlic bulbs. Be careful not to damage the bulbs.
2. Lift the Bulbs: Carefully lift the garlic out of the ground. Do not pull the garlic by the stems, as this can cause the stems to break and leave the bulbs in the soil.
3. Inspect the Bulbs: Check the bulbs for any signs of disease or damage. Healthy bulbs should be firm and plump.
3. Curing Garlic
Curing is essential for extending the shelf life of your garlic and enhancing its flavor.
Steps for Curing:
1. Clean the Bulbs: Brush off excess soil from the bulbs. Do not wash them with water.
2. Drying Location: Place the garlic in a well-ventilated area out of direct sunlight. A covered porch, garage, or shed works well.
3. Hanging vs. Laying Flat: You can either hang the garlic in bunches of 5-10 bulbs or lay them flat on a screen or rack.
4. Curing Time: Allow the garlic to cure for 2-3 weeks. You’ll know it’s ready when the outer skins are papery and the cloves are firm.
4. Storing Garlic
Proper storage keeps your garlic fresh and ready to use for months.
Storage Tips:
• Temperature and Humidity: Store garlic in a cool, dry place with good air circulation. An ideal temperature range is 60-65°F (15-18°C).
• Containers: Use mesh bags, baskets, or paper bags for storage. Avoid plastic bags, as they can trap moisture and cause the garlic to rot.
• Check Regularly: Periodically check your stored garlic for any signs of sprouting or rot and remove affected bulbs immediately.
5. Using Fresh Garlic
Freshly harvested garlic has a milder, more vibrant flavor compared to store-bought garlic. It can be used in a variety of culinary applications, from sauces and soups to roasted garlic and garlic butter. The possibilities are endless!
Conclusion
Harvesting garlic is a simple yet rewarding process that provides you with a fresh and flavorful ingredient for your kitchen. By following these steps for harvesting, curing, and storing garlic, you’ll ensure that your garlic crop is preserved and enjoyed to its fullest potential. Happy gardening!